
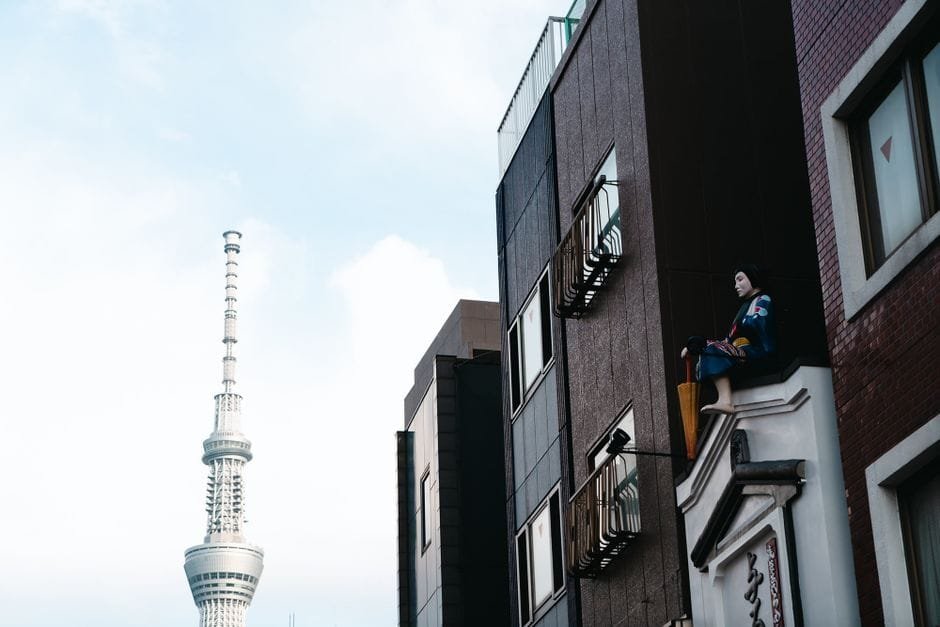
You want a Tokyo Osaka Budget Itinerary you can copy now? Here’s the plug-and-play version, plus a local Bataan weekend as your dress rehearsal. Tipid na, masaya pa.
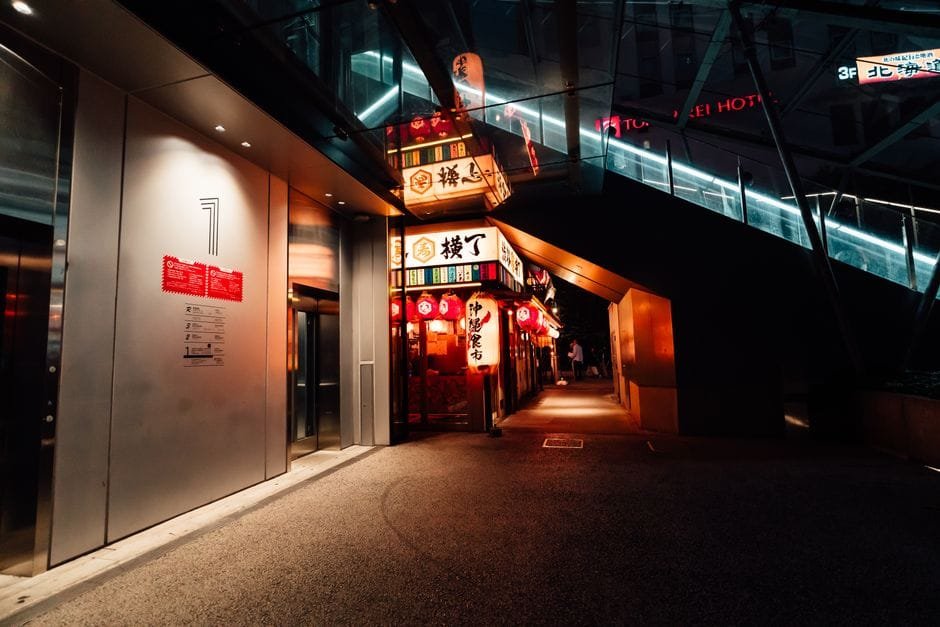
Tokyo Osaka Budget Itinerary: copy-and-paste plan
Think of this like a clean template you can run without overthinking. Keep transfers simple, chase ramen at night, and group sights by train lines so your feet and wallet survive.
Days 1–3: Tokyo base near a major station. For affordable picks around Ueno, Asakusa, Shinjuku, or Ikebukuro, choose a stay from this budget-friendly Tokyo list (see Sources). Pick a spot near a JR or Metro hub so you’re steps from food and late trains.
Tokyo flow that works: Asakusa and Senso-ji in the morning, Ameyoko and Ueno Park mid-day, then ramen and neon in Ikebukuro or Shinjuku at night. Another day, go Shibuya Crossing, Meiji Shrine, Harajuku, then Golden Gai or Omoide Yokocho for a compact food crawl. Keep museums or anime shopping blocks in the same zone to avoid backtracking.
Day 4: Tokyo to Osaka. If time is king, take the bullet train. If budget is king, do an overnight bus. Either way, arrive and drop bags near Namba/Dotonbori or Umeda so Osaka’s highlights are walkable and tasty.
Days 4–5: Osaka highlights you won’t regret: Dotonbori food crawl, Osaka Castle Park, Shinsaibashi shopping walk, and the Umeda area for views. If you’re a theme park person, dedicate one full day; if not, slot a day trip to nearby cultural spots. Use the Osaka guide in Sources to finalize your hit list.
Day 6: Fly out of Kansai Airport or loop back to Tokyo if your ticket’s round-trip. Open-jaw flights (arrive Tokyo, depart Osaka) save time because you avoid backtracking.
Where to sleep on a student budget
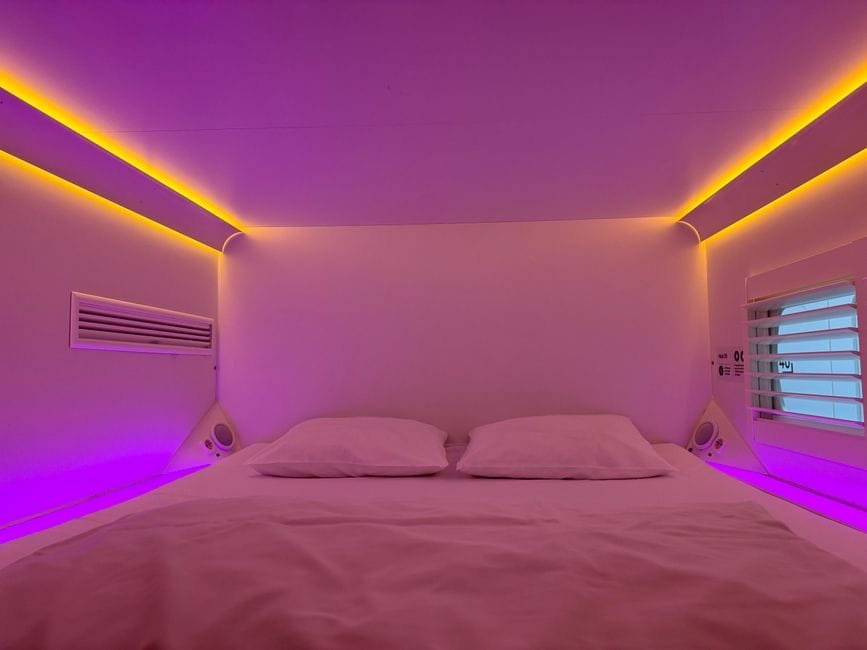
Tokyo: pick a budget stay from the linked guide near Ueno/Asakusa for classic sights or Shinjuku/Ikebukuro for late-night ramen and easy trains. Osaka: book near Namba if you want Dotonbori steps away, or Umeda for quick network connections. Keep rooms small, clean, and near stations. That’s the sweet spot.
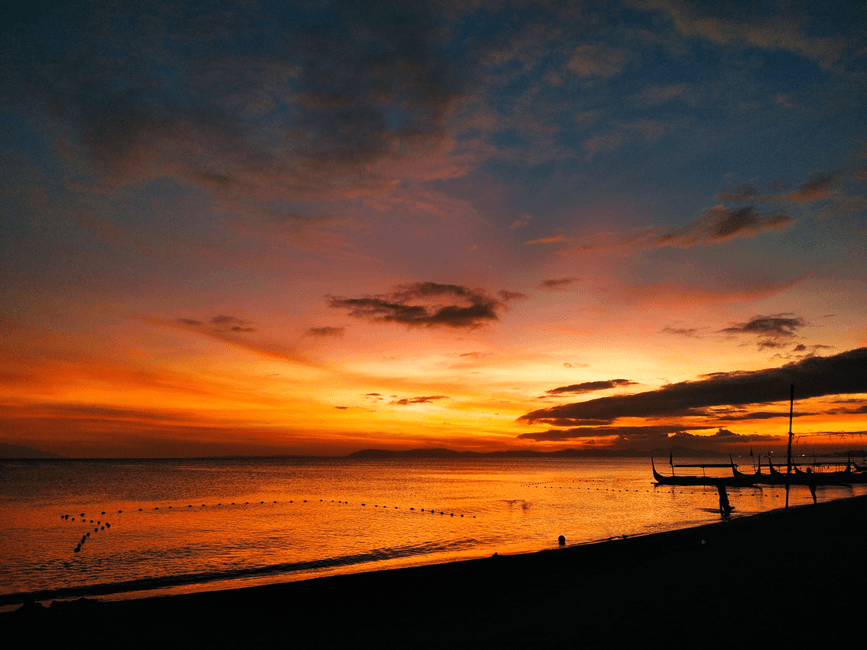
Bataan weekend rehearsal (your dry run)
Before flying, do a Saturday–Sunday Bataan test trip. Pack exactly what you’ll bring to Japan. You’re checking if your bag, shoes, and charging plan survive a real weekend.
Day 1: Early bus to Balanga. Drop bags at a guesthouse, then pick two or three close-by spots from the Bataan guide: heritage stops, a shrine with views, or a beach stretch in Morong. Group them by area to mimic your Japan routing logic.
Day 2: Morning cafe, one last site, then bus home. On the ride, list what hurt: socks, power, or shoulder straps. Fix now, not in Shinjuku Station.
IT-person setup: small but reliable
Budget setup: one 20W charger, one sturdy cable, mid-size power bank, eSIM or pocket Wi‑Fi, and offline maps. Creator setup: add a compact camera, 2 batteries, and a light tripod that fits inside your bag. Back up photos nightly to cloud when on Wi‑Fi. Label cables. Screenshot tickets and routes. Your future self will say, sobrang worth it.
Quick tips so you don’t debug on the road
Travel light. Pick one outer layer that works for trains and wind. Use a transit card app where available and keep small coins for kiosks that still love cash. Eat where the line moves but isn’t insane. And always set a 9:30 PM ramen window—Osaka and Tokyo both reward late walks.
Sources and Further Reading
– Best Affordable Hotels in Tokyo (guide)
– Osaka Highlights and Things To Do (guide)
– Bataan Itinerary and Tourist Spots (guide)
Disclaimer: Schedules, prices, and travel rules change. Always check official pages for the latest transport, ticketing, and accommodation details.