
You’re planning Tokyo and your browser has 27 tabs open. Breathe. Here’s a sane, smart plan for DIY Tokyo for Filipinos: a lean first‑timer itinerary you can tweak, plus the safety and tech setup (including GPS trackers) that keeps you calm in a city where train stations feel like airports.
DIY Tokyo for Filipinos: build a lean, happy itinerary
Anchor days by area so you waste less time in transit. Think loops, not zigzags. Start west, swing east, then plug in your wildcard day.
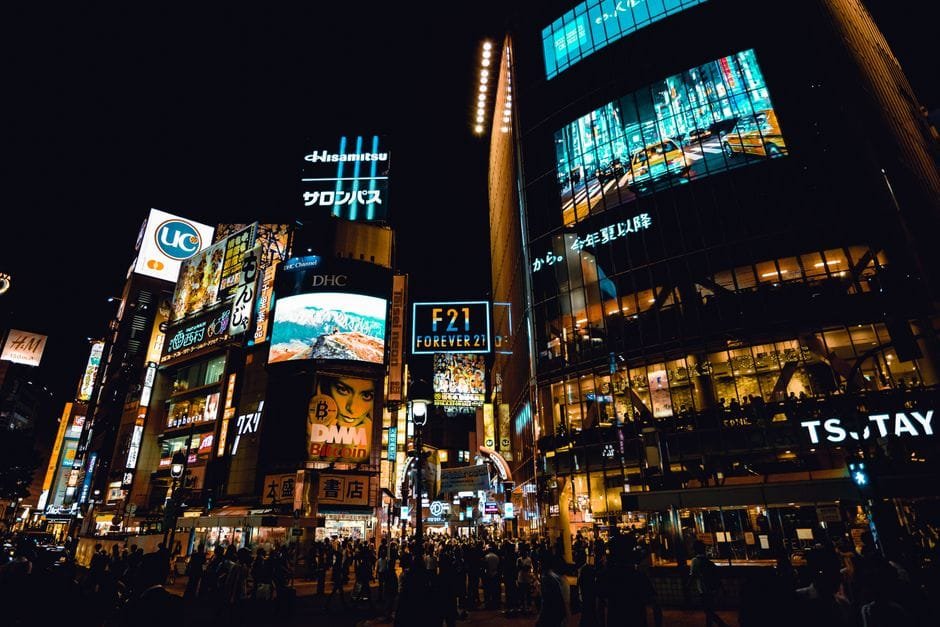
Day 1: Shibuya–Harajuku–Shinjuku. Hit the crossing, walk Cat Street, visit Meiji Jingu, then Golden Gai at night if you still have gas. Because these are neighbors, your steps count more than your train fare.
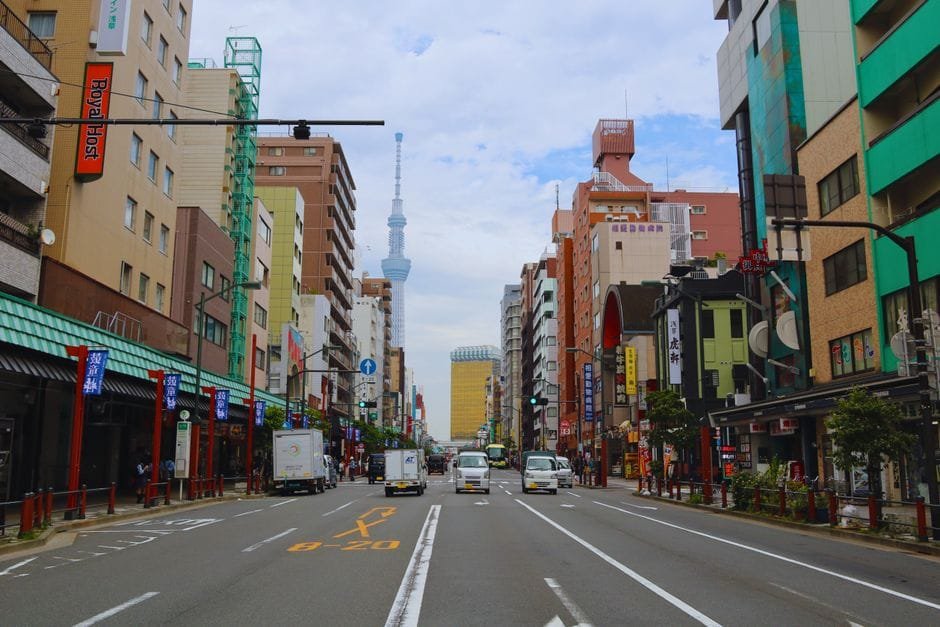
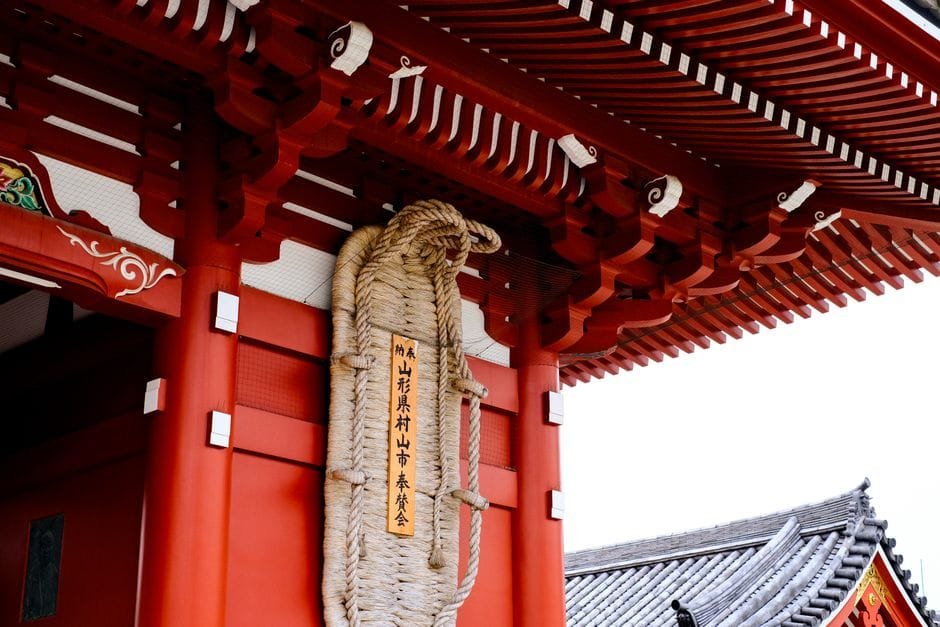
Day 2: Asakusa–Ueno. Asakusa in the morning for Senso‑ji and Nakamise. Walk or hop a short ride to Ueno Park and its free spaces. If museums are your thing, pick one and commit, don’t museum‑hop yourself into decision fatigue.
Day 3: Odaiba. Give it a full day if you like waterfront views and interactive museums. You’ll get space to breathe here, which balances the city rush.
Day 4: Your wildcard. Pick one: Akihabara (gadgets and hobby shops), Ginza (architecture and windows), or a short side trip to Yokohama. Keep it simple. Leave a buffer so you don’t sprint to the airport like a K‑drama extra.
Transit that won’t melt your brain
Grab an IC card (Suica or PASMO) for tap‑and‑go trains and convenience stores. Google Maps or any Japan transit planner works well, but download offline maps so you can still find exits when data drops underground. Avoid rush hour if you can. If a carriage looks packed, wait 2 minutes for the next train. It’s Tokyo—another one’s already here.
Eat like you, not like a brochure
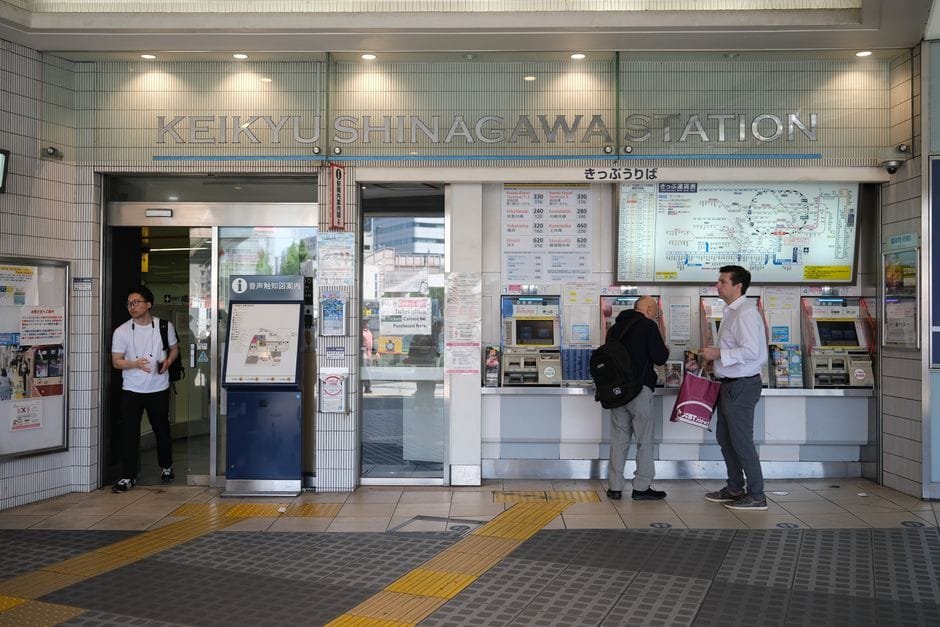
Breakfast can be convenience‑store onigiri plus coffee, then spend your food budget where it counts: a proper ramen lunch. Standing counters are fast and friendly to wallets. Ticket machines are your friend—press, pay, slurp. For dinner, bento or a curry house near your stay keeps the budget predictable. Tipid na, masaya pa.
Safety and gear that actually helps (yes, GPS trackers)
Tokyo is orderly, but crowds are real. A few smart tools give you peace of mind so you can focus on your trip, not on clutching your backpack like it’s the last pandesal.
Use a small crossbody bag worn in front. Keep passports and spare cards in a flat pouch under your shirt. Add GPS trackers to your day bag and luggage. Bluetooth tags are great for close‑range find‑my moments (think: “Where’s my backpack in this cafe?”). Cellular GPS trackers cover longer range, helpful if a bag goes on an unexpected solo adventure. Set geofence alerts around your hotel area so your phone chirps if your bag moves without you.
Stay powered. Bring a reliable power bank and a universal adapter. Japan’s outlets differ, so don’t gamble on your charger shape. For data, eSIMs are easy, while pocket Wi‑Fi works great for group sharing. Either way, confirm fair use policies and coverage before you fly. Save key addresses in Japanese in your notes app, and star your hotel on your map—offline.
| Tool/Device | Best For | Budget Level | Caution |
|---|---|---|---|
| Bluetooth tracker tag | Finding items nearby (bag in cafe, keys in room) | Low | Short range; relies on nearby phones or your device |
| Cellular GPS tracker | Real‑time tracking across the city | Medium to High | Needs data plan and regular charging |
| eSIM or pocket Wi‑Fi | Maps, translation, and sharing a connection | Low to Medium | Watch battery life and fair use caps |
| Offline maps app | Subway exits and walking routes without data | Low | Download ahead; keep storage free for map data |
How to set up your GPS tracker the IT way
Label everything clearly. Before your flight, pair your trackers, rename them (e.g., “Tokyo‑Daybag”, “Check‑In‑Luggage”), and test alerts at home so you know how loud and fast they trigger. Share tracking access with one trusted contact. Hide trackers in an inner pocket or attached under a stitched label; don’t make it obvious. Keep devices charged. If yours uses replaceable batteries, bring a spare; if it’s rechargeable, add a short cable to your EDC pouch. And please, respect privacy and local laws—track your gear, not people.
A lean budget that still feels like vacation
For housing, location beats marble bathrooms. Pick a place near the Yamanote Line or a subway hub so you shorten rides and avoid pricey taxis after a long day. Capsule hotels can work for solo travelers; small business hotels are great for pairs who want quiet. Book early for the best rates.
Use your IC card for small purchases to reduce coin overflow. Keep some cash because not all mom‑and‑pop shops take cards. ATMs in major convenience stores are your friend. Hydrate with refillable bottles; tap water is generally safe to drink. Attractions can change schedules, so check official pages before you lock your plan. And when your legs scream, pick one paid experience you’ll actually love (a museum, an observation deck) and skip the rest. Sobrang worth it when you’re not rushing.
Three fast wins before you fly
First, prep your phone like a travel Swiss Army knife. Download offline maps, transit apps, and a translator. Save key phrases and addresses. Enable your phone’s emergency alerts and add the Philippine embassy details in your contacts.
Second, organize your documents like an IT person would. Scan passports and cards into a secure cloud folder with two‑factor authentication. Keep a printed hotel card in Japanese in your wallet. If your phone dies, you still have options.
Third, pack a tiny power grid. One compact power strip or splitter plus a single adapter lets you charge multiple devices in your room without playing socket musical chairs. Your future self at 11 PM will thank you.
Where this plan comes together
Use an area‑based itinerary, rely on tap‑and‑go transit, and bring a light but intentional tech kit. Squeeze the most out of daylight, then give yourself one slow night to just wander and eat. Add GPS trackers for peace of mind, and your brain stays free for the good stuff—like choosing between shoyu or miso.
Sources and Further Reading
Tokyo Travel Guide: DIY itinerary, things to do, spots, budget
Why every Filipino traveler should pack a GPS tracker
Filipino traveler’s tech kit: power, connectivity, utility
Disclaimer: Schedules, prices, and travel rules change. Always check official pages for the latest info before your trip.