
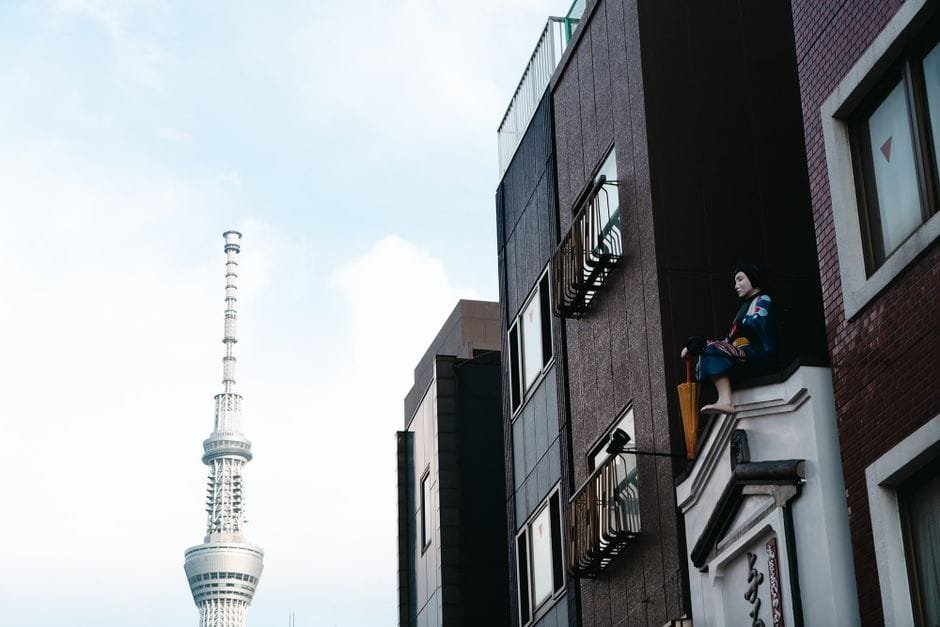
Tokyo can feel like opening five Chrome windows on a slow laptop. Fun, but chaotic. This guide locks in a Tokyo budget itinerary you can follow without burning cash, then layers a smart travel-tech pack on top—especially a GPS tracker—so you stay safe, find your stuff fast, and enjoy the ramen detours.
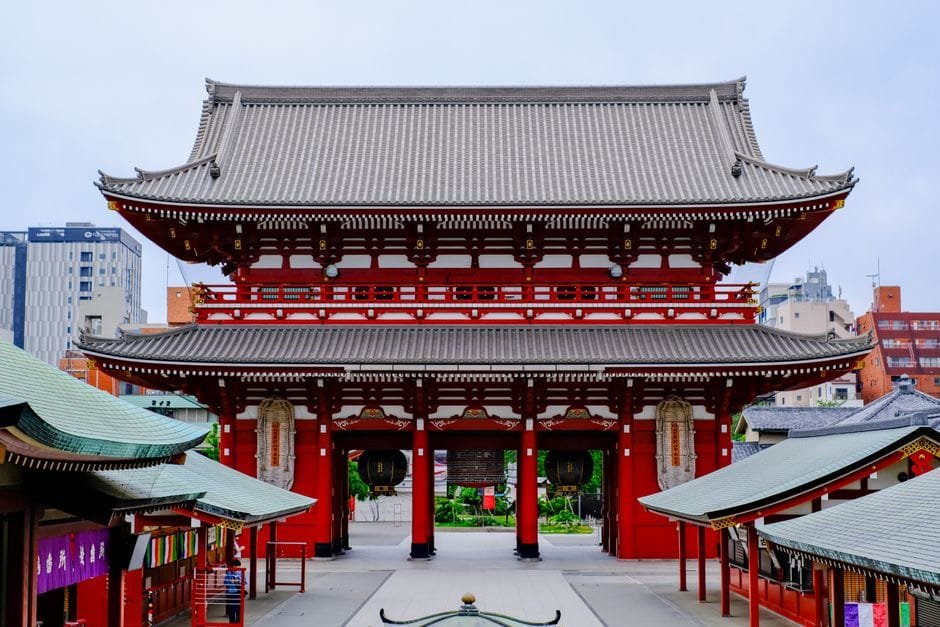
Tokyo budget itinerary (4 easy days)
Use this as a base. Tweak it based on your flight times and energy. For trains, load a reloadable transit card and keep small bills ready. Skip cabs unless you’re splitting late at night.
Day 1: Asakusa → Ueno
Start at a classic temple area for that old-Tokyo vibe. Walk the side streets for snacks and souvenir shops that won’t punish the wallet. Head to a nearby park and museum strip in the afternoon. If you’re a night owl, swing by a budget-friendly street for dinner. Slurp a comforting bowl once your feet start complaining—instant reset.
Day 2: Harajuku → Meiji area → Shibuya
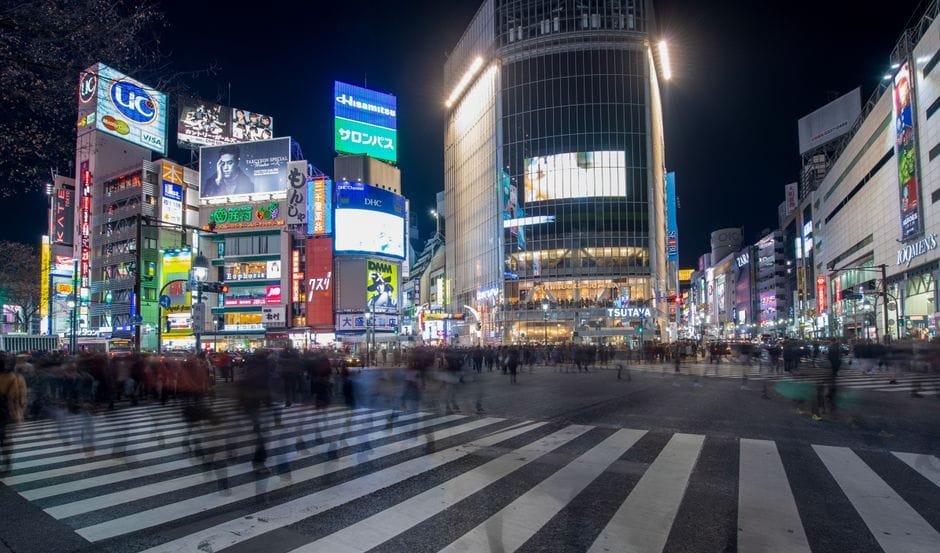
Easy morning at a serene shrine, then fashion lanes and crepe alleys after. End with Shibuya’s bright mess of people and lights. If crowds stress you out, pop into a small café on a backstreet and breathe. Sobrang worth it to pace yourself.
Day 3: Shinjuku → Observation deck → Omoide lanes
Hit a free or low-cost viewpoint for skyline shots. Explore pocket parks and camera stores. End with yakitori alleys or a budget stand-up bar. Keep your tech light so you can move faster between stations.
Day 4: Akihabara → Tokyo Bay side
Morning for gadgets and retro finds, then a waterside area for space and photos. If you still have energy, pick one museum or a small indoor team activity. Avoid stacking three paid attractions in one day; the queues and walk time will eat your budget.
Pro move: Group spots by train line so you’re not zigzagging. Check opening days; many museums and shops close one day per week. Always confirm hours on the official page.
Why your tech pack matters (and why a GPS tracker earns its slot)
Tokyo is safe by global standards, but it’s dense. Stations have multiple exits. Trains get packed. A smart tech pack keeps you calm and fast, which means you see more and spend less. The unsung hero is a GPS tracker. Source guides point out how trackers help you find bags, follow group movement, and cut stress on busy transit. You tag your daypack or luggage, set alerts, and stop guessing.
Where does it help most? Three places: airports, crowded transfers, and late-night moves when you’re tired and juggling snacks, umbrellas, and a camera. If your bag drifts, you’ll know. If your checked luggage takes a scenic route, you’ll see it land. That peace of mind lets you ride budget options over pricey plan B’s.
Setup tips an IT person would actually do
Do the boring work before you fly. It pays off.
• Create a simple label scheme: one pouch for power, one for data (SIM/eSIM cards, hotspot), one for tiny items. Color-code if you can.
• Turn on the tracker, test it at home, and set geofence alerts for your hotel area. Screenshot the app settings just in case.
• Download offline maps for Tokyo. Add pins for your hotel, the nearest station exit, ramen spots, and one late-night convenience store.
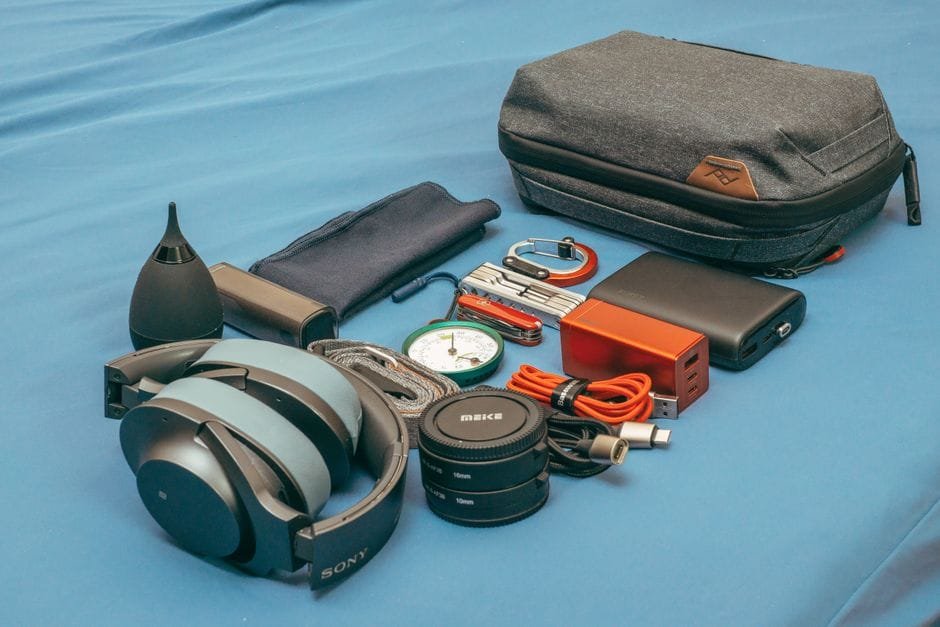
• Pack a multi-port wall charger and a power bank. Check airline rules for batteries and keep them in carry-on.
• Bring a universal travel adapter. Hotel outlets vary, and you don’t want to hunt for one at 10 PM.
• Use cable ties or short braided cables so your bag doesn’t become a spaghetti bowl.
• Enable two-factor authentication for email and cloud storage. If you lose your phone, you still own your accounts.
Quick comparison: which gadgets earn bag space
These are practical picks from a Filipino traveler’s tech kit—prioritize based on your budget and comfort level. You don’t need everything. Choose what actually removes friction for you.
| Tool/Device | Best For | Budget Level | Caution |
|---|---|---|---|
| Standalone GPS tracker | Checking luggage location and daypack safety | Mid | Charge it before flights; confirm app coverage and any fees |
| Bluetooth tracker tag | Fast crowd find near stations and cafés | Low | Works best near other phones; not ideal for long-distance |
| Pocket hotspot or local data plan | Reliable maps, translator apps, and transit checks | Low–Mid | Compare plans; confirm fair-use limits and pickup/activation steps |
| Multi-port wall charger + power bank | Keeping phones and trackers alive all day | Low–Mid | Check airline battery rules; keep chargers easily accessible |
How the tech supports your Tokyo budget itinerary
Day-to-day, the kit quietly saves you money and time. A tracker frees you to use cheaper transit because you worry less about bags in crowded cars. Offline maps help you exit at the right station gate, which means fewer wrong turns and fewer emergency snacks out of frustration. A hotspot or data plan keeps translator apps smooth when ordering food or asking for help. The charger and power bank stop you from panic-buying an expensive cable at a station kiosk.
For ramen missions, pin two backup shops per area. If line A is wild, you already know Plan B. Tipid na, masaya pa.
Safety habits that stack with tech
Small routines beat flashy gear. Keep your phone on a short lanyard in trains. Zip bags fully and carry them in front during rush hours. Screenshot your hotel name in Japanese and the nearest station exit letter or number. Set a shared location with your travel buddy for crowded nights. Last, always verify operating hours and any pass rules on the official pages before you go.
Budget-side choices worth making
Pick a base near one main station so you can walk to dinner. Plan breakfast from a grocery store or convenience shop to save time and yen. Stack free viewpoints with one paid highlight per day. If you love gadgets, window-shop early, buy late; that pause saves your wallet from impulse upgrades you don’t need.
Most of all, keep your tech simple. The goal isn’t to carry a mini data center. It’s to remove friction so you can focus on Tokyo’s energy—and that perfect bowl you’ll still think about on the flight home.
Sources and Further Reading
• Tokyo DIY itinerary, budget tips, and first-timer spots: Pinoy Adventurista – Tokyo Travel Guide
• Why a GPS tracker belongs in your bag: Pinoy Adventurista – GPS Tracker
• Practical travel tech beyond the camera: Pinoy Adventurista – Traveler’s Tech Kit
Disclaimer: Schedules, prices, pass rules, and opening hours change. Always confirm on official pages before you go.