
You want a Tokyo budget itinerary that still feels premium? Same energy. This is a first-time Tokyo game plan that keeps cash burn low and stress lower, paired with a safety-first tech setup an IT person would actually carry. No fluff. Just a route that works and gear that keeps you online, charged, and harder to pickpocket.
Tokyo budget itinerary: 4-day DIY that actually works
Start with a reloadable IC transit card. Trains are your lifeline, which means fewer wrong turns and zero taxi guilt. Aim to cluster sights by district so your legs and wallet both survive.
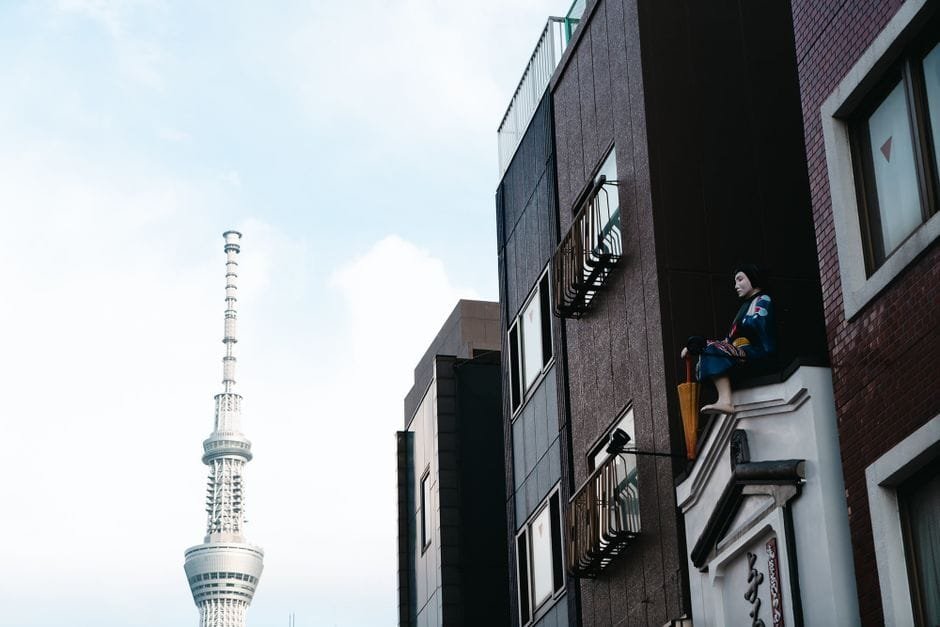
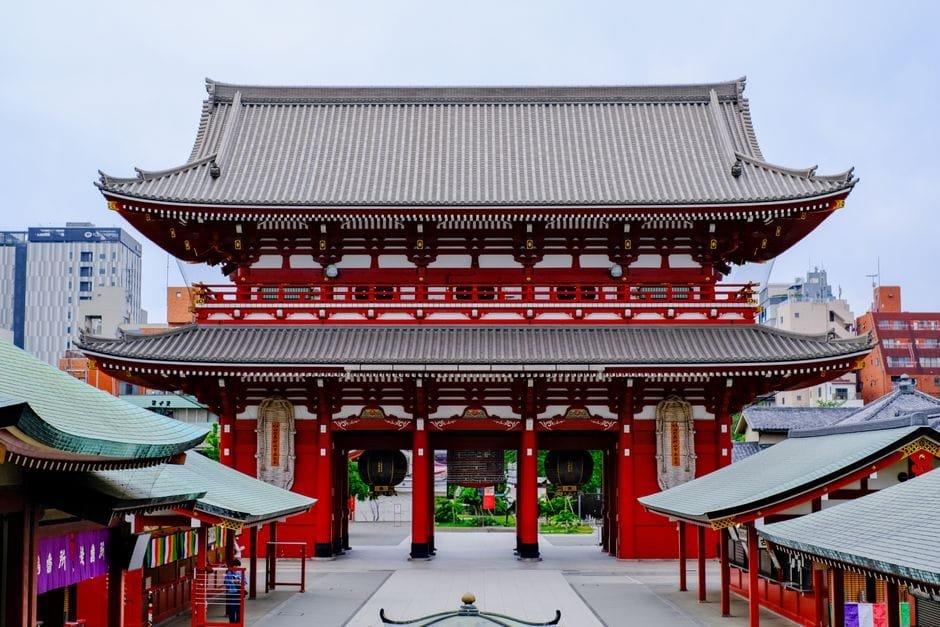
Day 1 – Asakusa and Sumida: Go early to Senso-ji. Walk Nakamise for snacks, then head to the river. You can admire Tokyo Skytree from the outside or the nearby mall area if you’re saving yen. End with ramen in Asakusa—ticket machines are your friend.
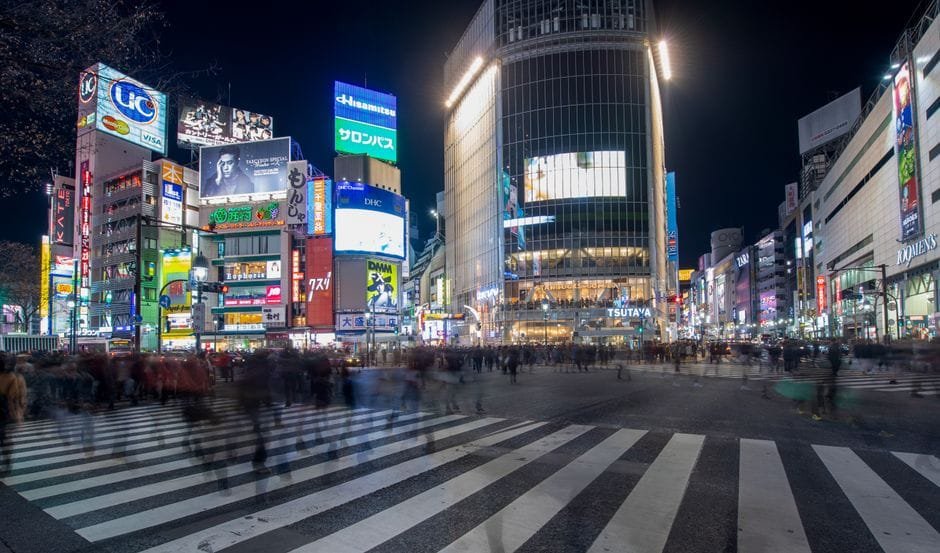
Day 2 – Meiji to Shibuya run: Meiji Shrine in the morning, Harajuku alleys after. Walk to Omotesando for window shopping, then cross into Shibuya for that famous scramble and Hachiko. Stay for neon hour. Sobrang worth it when the signs light up.
Day 3 – Ueno to Akihabara: Ueno Park for museums or a chill stroll, Ameyoko for street eats, then Akihabara for gadgets and anime. Buy small; compare prices; keep receipts.
Day 4 – Imperial core and a bay breeze: Imperial Palace East Gardens (free on open days), a quick look at Tokyo Station’s brick facade, then head to the bay area for sunset views. If a paid art space is on your list, time a late slot so you get night lights after.
Where’s Disney, Gundam, or day trips? Optional. Keep the core tight if it’s your first time. You can add side quests if your energy and budget allow. For detailed sample routes and updated costs, see the guide in Sources and check official pages for hours.
Safety-first tech packing (the no-drama setup)
Tokyo is safe, but trains and festivals get packed. That’s where a minimal tech kit protects your time and gear. The point is fewer decisions while you’re jet-lagged and excited.
GPS tracker on luggage and daypack: Slip a small Bluetooth tracker inside the main compartment of your suitcase and day bag. Set separation alerts so your phone pings if you walk away. In crowds, it’s easier to recover a bag when it broadcasts its last seen location. Source below explains why this matters, from airports to busy stations.
Power that keeps up: Bring one reliable wall charger with multiple ports and a medium-capacity power bank. Charge every night, top up every train ride. Japan uses two flat pins; most PH chargers fit. If your plugs are different, bring a slim adapter. Label your cables. Future-you at 6 a.m. will thank you.
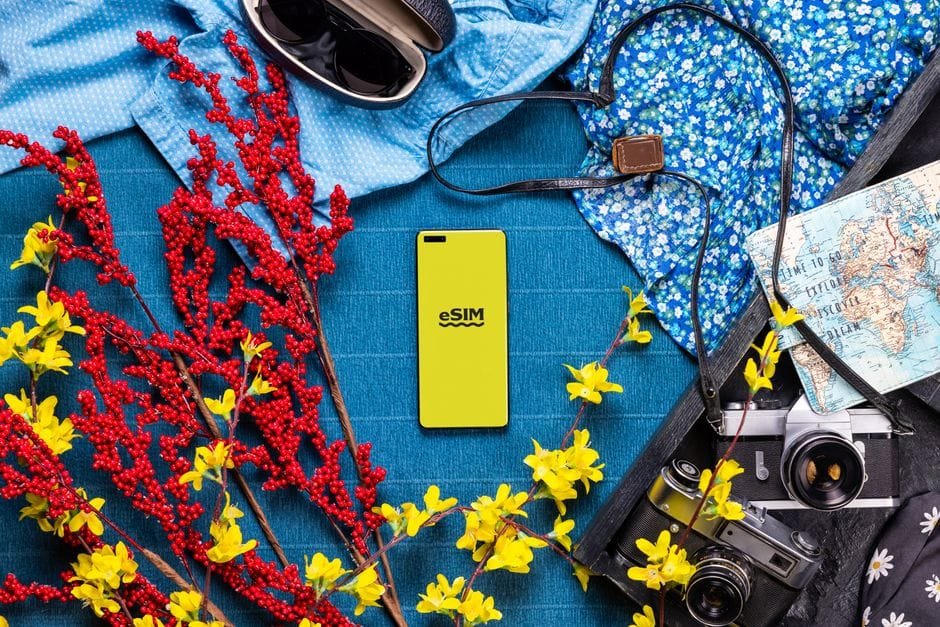
Connectivity made simple: Before you land, decide: eSIM, pocket Wi‑Fi rental, or a local physical SIM. Any of these will run maps and messaging. Preload offline maps and pin your hotel, train stations near it, and two ramen shops you want to try. Redundancy > panic.
| Tool/Device | Best For | Budget Level | Caution |
|---|---|---|---|
| eSIM (Japan data) | Solo travelers, fast setup, no pickup | Mid | Needs eSIM-capable phone; install before flight if possible |
| Pocket Wi‑Fi rental | Groups sharing data; multiple devices | Mid–High (split lowers cost) | Keep it charged; add a strap so it won’t get misplaced |
| Local physical SIM | Phone with open slot; simple data-only use | Budget | Swap carefully; keep your PH SIM safe in a labeled case |
| Bluetooth GPS tracker | Luggage and daypack tracking | Budget–Mid (one-time) | Needs nearby smartphones for location; not a live GPS beacon |
App stack that saves time: Use a rail planner or map app that shows platform numbers and transfer times. Star the exits you need. Set your hotel as a favorite. For budgeting, use a simple expense app or notes with categories: transport, food, admissions, fun.
Budget moves that stack
Pick one paid viewpoint and skip the rest. There are free city views from certain government buildings; hours change, so check the official page before you go. Eat your big meal at lunch when sets are cheaper. Convenience store dinners plus a proper ramen bowl every other night? Tipid na, masaya pa.
Use coin lockers at big stations for half-day sprints across town. Your back will forgive you, and you move faster without a heavy bag. If you love souvenirs, target one 100-yen shop and set a limit. The key is deciding limits before the bright lights make you generous.
Trains win 90% of the time. If you’re coming from the airport, compare routes by time and transfers, not just speed. Sometimes one extra transfer adds confusion when you’re running on two hours of sleep.
What to skip on a tight schedule
Taxi rides across the city when trains do it better. Three observation decks that show the same skyline. Day trips far outside Tokyo if you only have three full days. Overstuffed shopping lists that slow you down and fill your bag before the last day.
Set it up before you fly
Install your eSIM or arrange pocket Wi‑Fi pickup. Create a shared note with your companions: hotel address in Japanese and English, emergency contacts, embassy details, meeting points, and ticket codes. Screenshot QR passes into a dedicated album named “Tickets” so they surface fast. Turn on phone location sharing with one trusted contact. Test your power bank and cables. And place your tracker inside the bag, not on a keychain where it’s easy to remove.
Tokyo ramen with sense
Order from the machine, keep small coins handy, and choose the local chain near your station for late nights. If the line is wild, take a number and come back after a 20-minute stroll. Your schedule stays intact, your stomach stays happy.
Why this plan works
District clustering reduces transit hops. A simple tech kit prevents the three classic travel failures: dead battery, no data, and lost bag. And you’re building in flex time. That’s how a budget trip still feels calm—and fun.
Sources and Further Reading
- Tokyo Travel Guide: DIY itinerary, things to do, and tips for first-timers
- The Filipino Traveler’s Tech Kit: What to pack beyond the camera
- Why every Filipino traveler should pack a GPS tracker
Disclaimer: Schedules, prices, and travel rules change. Always check official pages for the latest hours, passes, and entry guidelines.